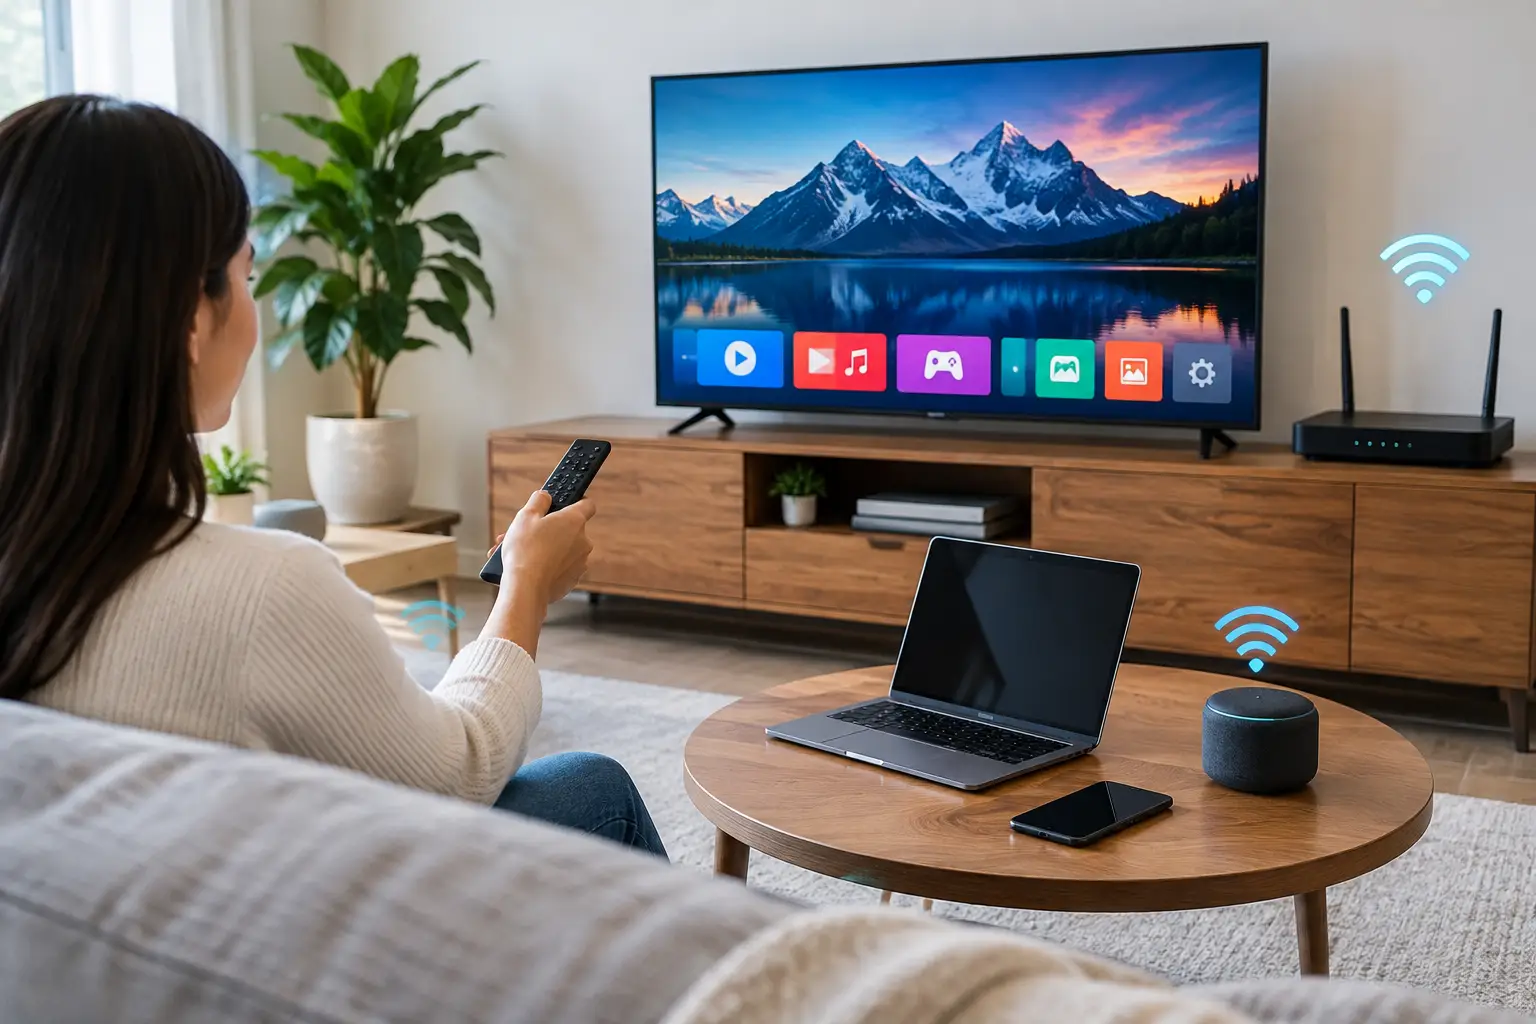
A new smart TV can feel surprisingly unhelpful until it is connected. Knowing how to connect smart tv models to your home network, a cable box, or a streaming device is usually straightforward, but the right method depends on what you want to watch and the equipment you already have.
For most households, the first priority is getting the TV online through Wi-Fi or Ethernet. That gives you access to built-in apps, software updates, live TV services, and streaming platforms. From there, you can add an antenna, cable box, game console, or phone if needed.
How to Connect Smart TV to Wi-Fi
Turn on the TV and use the remote to open Settings. The wording varies by brand, but look for a section called Network, Internet, Connections, or General. Choose the option to set up a wireless connection, then select your home Wi-Fi network from the list.
Enter your Wi-Fi password carefully. Passwords are case-sensitive, so a capital letter or missed character will prevent the TV from joining the network. Once it connects, the TV may run a quick test and ask you to accept privacy terms, sign in to an account, or install an update.
If your network name does not appear, move the TV setup screen closer to the router if possible, or restart both the TV and router. A television placed behind a wall, inside an entertainment cabinet, or far from the router may receive a weaker signal than a phone in the same room.
Many newer routers show two versions of the same network: one labeled 2.4 GHz and another labeled 5 GHz. Either can work. The 5 GHz band is often faster at close range, while 2.4 GHz generally reaches farther through walls. If the TV is far from the router, try the 2.4 GHz option first. Some newer equipment also uses 6 GHz, but not every smart TV supports it.
Use Ethernet when Wi-Fi is unreliable
A wired Ethernet connection is often the simplest answer for a TV that buffers, drops its connection, or sits in a difficult location. Plug one end of an Ethernet cable into the TV’s LAN or Ethernet port and the other into an open port on your router or mesh Wi-Fi unit. The TV should detect the connection automatically.
Ethernet is especially useful for 4K streaming, live sports, and households with lots of devices competing for Wi-Fi. It does not make a slow internet plan faster, but it removes the wireless connection between the TV and router as a possible problem.
Running a cable across a room is not practical for everyone. In that case, improving router placement or adding a properly placed mesh Wi-Fi access point may be more useful than buying a stronger TV antenna or repeatedly resetting the television.
Connect Your Smart TV to Cable, Satellite, or an Antenna
Internet access does not replace every TV input. If you use a cable or satellite receiver, connect it to an HDMI port on the TV with an HDMI cable. Then press the Input or Source button on the remote and select the matching HDMI input, such as HDMI 1 or HDMI 2.
If you use an over-the-air antenna for local channels, connect the antenna’s coaxial cable to the round Antenna In or Cable In port on the back of the TV. Open the TV’s channel setup menu and choose Air, Antenna, or Over-the-Air rather than Cable. Run a channel scan so the TV can find available local stations.
The distinction matters. An antenna brings in local broadcast signals without using your internet connection. A cable box delivers channels through the cable provider’s equipment. Streaming apps use your home internet service. A smart TV can use all three, but each has its own connection and setup process.
Connect a Streaming Device, Game Console, or DVD Player
Even if your TV has built-in streaming apps, an external streaming device can still be useful. Roku, Apple TV, Fire TV, and similar devices may offer a different app selection, a preferred remote, or longer software support than an older television.
Connect the device to an available HDMI port, turn on the TV, and select that HDMI input. The streaming device will then guide you through its own Wi-Fi setup. If your TV has several HDMI ports, make a note of which one you used. It saves time later when someone changes the input and sees a blank screen.
Game consoles, Blu-ray players, and soundbars also commonly connect through HDMI. For the best picture and sound, use newer HDMI cables when you need them, but do not assume an expensive cable improves streaming quality. Your TV, connected device, and internet connection have a much bigger effect on everyday viewing.
If you add a soundbar, follow its instructions for HDMI ARC or eARC if those ports are available. ARC lets the TV send sound back to the soundbar through one HDMI cable. If that setup feels confusing, an optical audio cable is still a workable option on many TVs and soundbars.
Connect a Phone or Tablet to a Smart TV
There are two common ways to show content from a phone on a TV: casting and screen mirroring. Casting sends a video from a compatible app, such as a streaming app, to the TV. Your phone becomes a remote while the TV streams the content directly from the internet.
Screen mirroring displays much of what is on your phone screen, including photos, presentations, and some apps. Android devices may call this Cast, Smart View, or Screen Share. Apple devices generally use AirPlay. The names vary, but both the phone and TV usually need to be connected to the same home Wi-Fi network.
Open the video or photo you want to share and look for the cast or AirPlay icon. Select the TV from the device list, then enter a code if the TV displays one. If the TV does not appear, confirm that casting or AirPlay is enabled in the television settings.
Casting is generally better for watching supported streaming apps because it uses less phone battery and lets you continue using your phone for other tasks. Screen mirroring is more useful when the specific app or content does not support casting.
Make Sure Your Internet Plan Can Keep Up
A single HD stream does not require enormous speeds, but a modern household rarely has just one device online. A TV may be streaming 4K video while someone is on a video call, another person is gaming, and phones, cameras, and smart speakers are connected in the background.
For a typical household, 100 Mbps is a practical minimum starting point. Homes with active families, multiple TVs, frequent video calls, and many connected devices are often better served by 300 to 500 Mbps. A 1 Gig plan or higher can make sense for heavy-use households, although Wi-Fi coverage inside the home still matters as much as the speed listed on the bill.
When a TV buffers, do not immediately assume you need a faster plan. First test whether other devices are slow too. If only the TV has trouble, the issue is more likely its Wi-Fi signal, an outdated app, or a temporary problem with the streaming service.
What to Do When Your Smart TV Will Not Connect
Start with the simple checks. Confirm that the TV is trying to join the correct network and that the password is accurate. Restart the TV by unplugging it for about a minute, then restart the router. This clears many temporary connection issues.
If the TV says it is connected to Wi-Fi but apps will not load, try opening more than one app. If none work, run the TV’s built-in network test. If one app fails while others work, the problem is likely with that app or its service rather than your home connection.
You can also forget the Wi-Fi network in the TV settings and add it again. Check for a system update once the connection returns. Older smart TVs sometimes lose app compatibility over time, and an external streaming device can be a practical alternative when the TV’s built-in software is no longer well supported.
A connected TV works best when the basics are in place: a reliable home network, a good signal where the TV sits, and the right input selected for the device you want to use. Set those up once, and switching between local channels, streaming apps, and connected devices becomes routine instead of frustrating.